Edit a Guideline
To edit a Guideline:
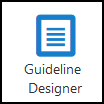
- From the main Dashboard select Guideline Designer.
The Guideline Designer view displays.
-
Select the Guideline you want to edit, optionally, use the Search bar - see Searching for a Guideline.
The Guideline screen displays.
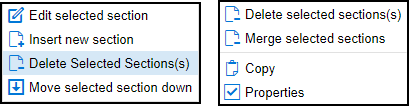
- Double click within the dotted square to begin editing the section or right click and select Edit selected section.

- From the Document Editing view, enter your content.
From here you can:
- Enter text directly
- Copy and paste text
- Select from the toolbar to format the message:
See -Guideline Formatting for more information.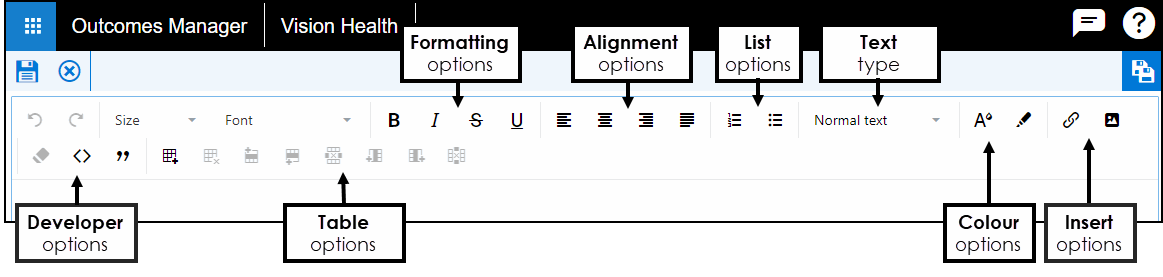
- Select Save
 to finish editing.
 - To add further Sections select Insert New Section
 or right click and select Insert new section from the menu.
The new section displays after the current section. - To Delete a Section, select the Section(s) for Deletion and right click, choose Delete selected sections(s).
- Sections can be moved up or down a Guideline as required.
Select a Section to move.
- From the toolbar or right click menu select Up or Down
 to move the section.
- On completion, select File from the toolbar, then choose from:
- Save
- Save As - Assign a different name to the Guideline
- Save as Template - If you want to convert the Guideline to a Template, select this option
Note - Save as Template does not remove the version saved as a guideline, if this is no longer required this can be Archived under Administration > Manage Workflows.
The view refreshes to show the completed section.
